Today, we're going to continue our walkthrough of the "Classifying_Iris" template provided as part of the AML Workbench. Previously, we've looked at
Getting Started,
Utilizing Different Environments,
Built-In Data Sources and started looking at
Built-In Data Preparation. In this post, we're going to continue to focus on the built-in data preparation options that the AML Workbench provides. If you haven't read the previous
post, it's recommended that you do so now as it provides context around how to navigate the Data Preparation tab.
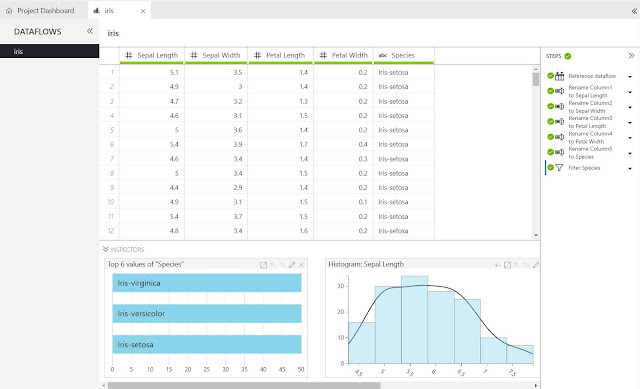 |
| Iris Data |
So far, the columns in this Dataflow have been given names, records with no "Species" have been filtered out and we've created some Inspectors. Let's see what other options are available.
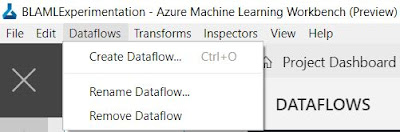 |
| Dataflows Menu |
The first relevant menu we find in the top bar is the "Dataflows" menu. This menu has options for "Create Dataflow", "Rename Dataflow" and "Remove Dataflow". "Rename Dataflow" and "Remove Dataflow" aren't very exciting. However, "Create Dataflow" is more interested than we initially thought.
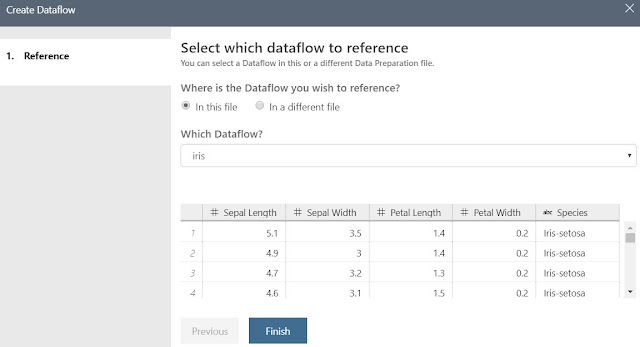 |
| Create Dataflow |
This option allows us to create a new Dataflow using an existing Dataflow. In fact, the existing Dataflow doesn't even need to be part of the same Data Preparation Package or Workspace. We only need to be able to provide a DPREP file (this is what AML Workbench creates on the backend when we create a Data Preparation Package). This means that we can have one set of steps stored in the first Dataflow, then use the result of those steps as the start of another Dataflow. Why would we want this? The major reason is that this allows us to create a "base" Dataflow that contains clean data, then use that Dataflow multiple times for different purposes. We could even provide this DPREP file out to other people so they can see the same data we're seeing. Please note that we are not recommending this as the preferred approach for sharing data. We have databases, SQL and otherwise, for this task.
This raises an interesting question for us. If we reference an external Dataflow using a DPREP file, then that Dataflow becomes an implicit component of our Dataflow However, if we update that DPREP file, does our Dataflow update as well or is it a one-time upload?
 |
| Update Test |
We tested this on our own. When we reference an external Dataflow, a refreshable, but NOT LIVE, connection is created. When we update the external Dataflow, we need to refresh our Dataflow to see the changes propagate.
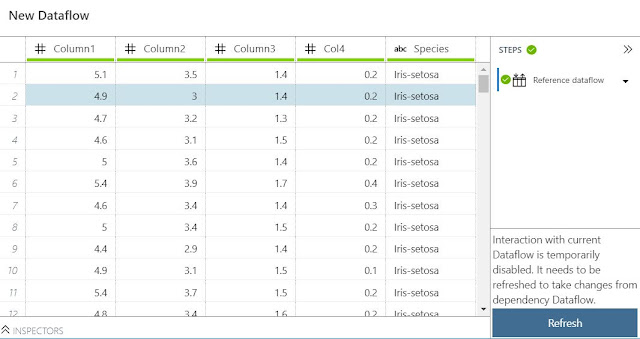
Just for fun, let's create a new Dataflow using the existing "Iris" Dataflow.
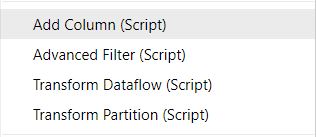
The next menu is the "Transformations" menu. We could easily write an entire blog series on just the contents of this menu. Obviously, there are the basics you would expect from any tool, such as changing data types, joins/appends and summarizations. We'll touch on a couple of the more interesting features and leave the rest up to you to explore.
The most common type of transformation is adding a new column. In AML Workbench, we have the option of creating a new column with the "Add Column (Script)" option from the "Transformations" menu.
 |
| Add Column (Script) |
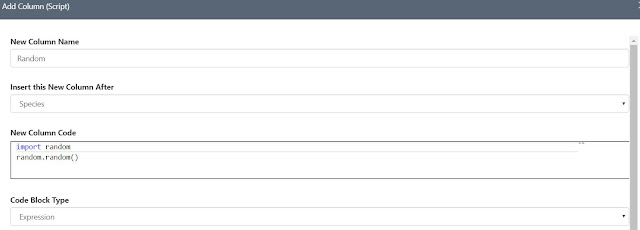
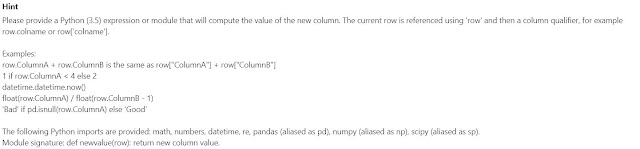
This opens up a new window where we can name our column, decide where it will be located in the dataset and create an expression. It also provides a hint at the bottom in case we aren't sure how to use the script functionality.
 |
| Add Column (Script) Window 1 |
 |
| Add Column (Script) Window 2 |
The scripting language we will use here is Python v3.5. As a quick showcase of functionality, we created a column called "Random", which contains a random value between 0 and 1. In order to do this, we need a Python library called "random". Since this library is not included by default, we need to import it first. This leads us to the following code:
import random
random.random()
For those unfamiliar with Python, it is a case-sensitive language. In this case, we are importing the "random" library, and calling the "random" function from within that library.
Another interesting thing to note about this window is that we don't have to use a custom expression. The "Code Block Type" dropdown gives us the option of using a "module". This would allow us to save a large, shareable block of code as a .py file. Then we could use that module in the script by using the "import" command. This is another victory for shareable code.
 |
| Code Block Type |
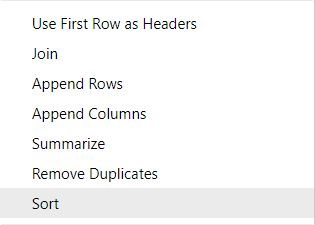
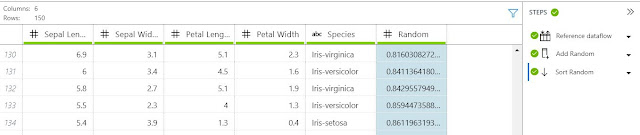
Some of you may be thinking "Why did you create a useless column like Random?" Turns out, it's not entirely useless for our purposes. It allows us to show off our next piece of functionality, Sort.
 |
| Sort |
The Sort option is also found within the "Transformations" menu. If we select the "Random" column, then the "Sort" option, we can sort the dataset by the "Random" column. This gives us a clean look at the the different values in the columns. While this has no analytical value, it does give us a quick overview of what we are looking at.
 |
| Iris Data (Sorted) |
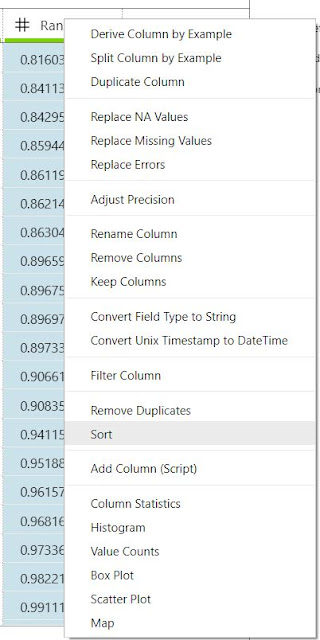
We could have also accomplished this by right-clicking the "Random" column header, and selecting the "Sort" option.
 |
| Sort (Right-Click) |
Moving on, another interesting option within the "Transformations" menu is the "Advanced Filter (Script)" option.
 |
| Advanced Filter (Script) |
This option allows us to use Python code to filter our dataset using any filter logic that we could possibly write using Python (which is almost anything we would ever want to do).
 |
| Advanced Filter (Script) Window |
In this case, we decided to randomly filter out half of our data by using the "Random" column. We could just as easily filtered on one of the other columns. We could even have created a brand new expression in this window and filtered on it. The possibilities are almost endless.
The final script option we'll look at is "Transform Dataflow (Script)". This can also be found in the "Transformations" menu.
 |
| Transform Dataflow (Script) |
This option is basically the mother of all transformations. This allows us to use Python to completely redesign our dataset in virtually any way we want.
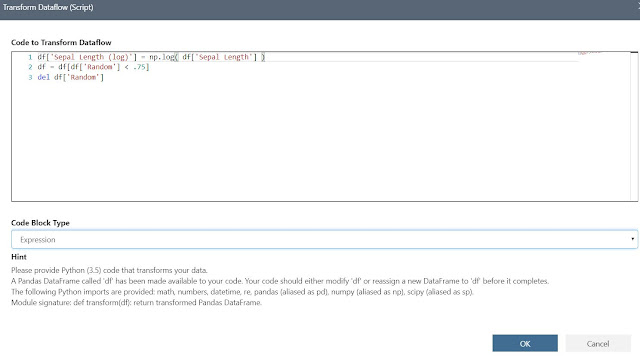 |
| Transform Dataflow (Script) Window |
As a showcase of functionality, we used Python to create a new column, filter the dataset further and remove a column. Here's the code we used:
df['Sepal Length (log)'] = np.log( df['Sepal Length'] )
df = df[df['Random'] < .75]
del df['Random']
As you can see, the Script transformations are incredibly powerful. There's almost nothing they can't do. We encourage you to look through the rest of the transformations on your own.
Alas, there is one final transformation we want to touch on, "Derive Column By Example". This can also be found in the "Transformations" menu. Instead of providing a strict formula, this option, as well as the other "By Example" transformations, allow us to provide examples for how the new field should work. Then, AML Workbench will deduce what we're trying to accomplish. This can be extremely beneficial when the equation is complex or we simply want to quickly showcase something. Let's quickly turn the "Species" column into a numeric column by using this technique.
 |
| Derived Column |
By simply providing the numeric labels for three rows in the dataset, AML Workbench was able to deduce exactly what we wanted. This is some very cool functionality that really separates AML Workbench from most of the competition.
This post showcased just how much power we can get from the Built-in Data Preparation tools within AML Workbench. Hopefully, this piqued your interest to go try it on your own. Stay tuned for the next post where we'll continue with the Built-In Data Preparation by looking at Inspectors. Thanks for reading. We hope you found this informative.
Brad Llewellyn
Senior Analytics Associate - Data Science
Syntelli Solutions
@BreakingBI
www.linkedin.com/in/bradllewellyn
llewellyn.wb@gmail.com


No comments:
Post a Comment