Today, we're going to talk about how to add negative rows to your transaction table using Power Query. Many IT installations have some sort of transaction table showing what they buy and sell. Many of those businesses also have a practice of allowing customers to return items purchased. In most of these cases, the business wants to be able to identify when an item was returned. However, there are different ways to handle this problem. For instance, you could simply remove the order from the transaction table. However, this leaves no evidence that the order was ever placed at all. Another method is to add another row to the transaction table with the same Order ID, but takes a negative quantity and a negative sales amount. This would not affect your total sales, because the values would be added and then subtracted, causing a net of 0. It also leaves evidence of the return. You can also place a flag somewhere else in your database showing which orders were returned and which were not. Let's look at how to accomplish this task using a simple data source.
We start with our Orders table.
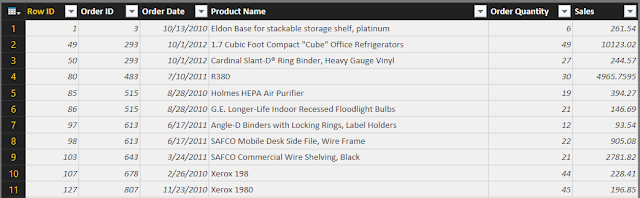 |
| Orders |
This table shows us the Row ID, Order ID, Order Date, and Product Name for every order, as well as the Quantity and Sales. Now, let's take a look at the Returns table.
 |
| Returns |
The Returns is just a list of Order IDs that have been returned. We could approach this differently if we were provided with a Return Date or a specific product that was returned. Alas, this is what we have.
Let's start by duplicating our data source so that we can keep the original for testing purposes.
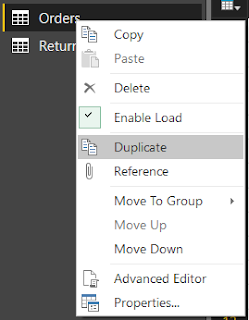 |
| Duplicate |
Now, we can start working our new Orders table, which we have renamed Orders (with Negatives). The first thing we need to do is identify which orders were returned. The easiest way to do this is with Merge Tables.
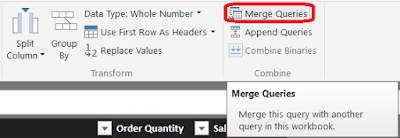 |
| Merge Queries |
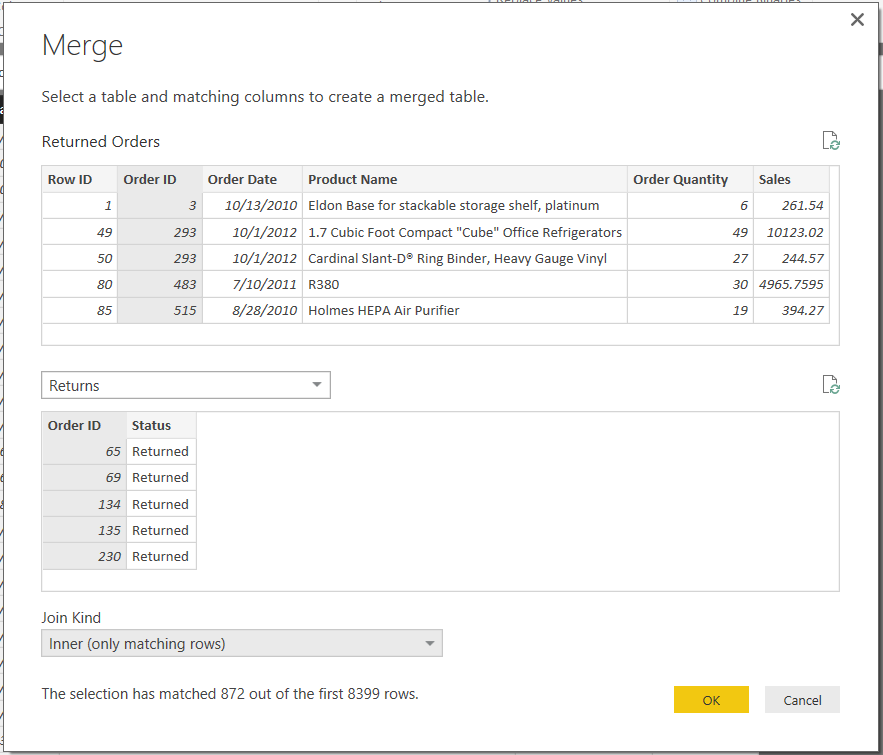
For our purposes, we want to find all of the Orders in the Orders table that were returned. This can be accomplished by Inner Joining the tables on the Order ID key. However, doing this will throw away all of the rows that don't have returns. So, let's start by duplicating the Orders (with Negatives) table again, then do the Inner Join between Orders (with Negatives) (2), which we will call Returned Orders, and the Returns table.
 |
| Merge |
This leaves us with the Orders table, but only the rows that were returned.
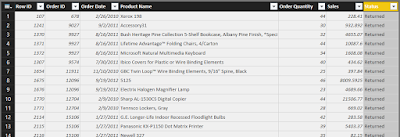 |
| Returned Orders |
You may notice that these are exactly the orders we wanted to negate from the original table. We can do this by multiply Sales and Quantity by -1.
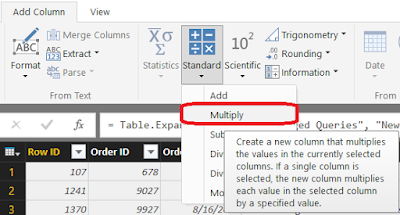 |
| Multiply |
Now, we have 2 new columns representing the -Quantity and -Sales.
 |
| Returned Orders (with Negative Columns) |
Next, we need to remove the original Quantity and Sales columns and rename the negative columns to Quantity and Sales, respectively. For cleanliness, we can also remove the Status column, as it was only used for demonstration.
 |
| Returned Orders (Clean) |
Now, we're ready to add these rows to our original table. Actually, since we're reserving the original table for testing purposes, we're actually appending this to the Orders (with Negatives) table.
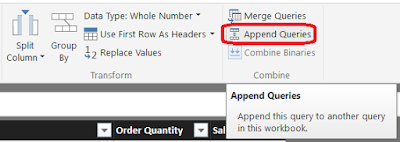 |
| Append Queries |
Because of the table size, we can't see any of the negative rows in the Power Query preview. So we need to pull all of this out to Power BI and take a look. This is exactly why we kept the original table.
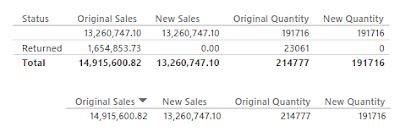 |
| Validation |
We can see that the sales and quantity for non-returned orders was not affected. However, the new sales no longer includes items that were returned, while still maintaining those rows in the transaction table. Thanks for reading. We hope you found this informative.
Brad Llewellyn
BI Engineer
Valorem Consulting
@BreakingBI
www.linkedin.com/in/bradllewellyn
llewellyn.wb@gmail.com


No comments:
Post a Comment